/ Ground-Mounted Solar
installation Process of Ground-Mounted Solar
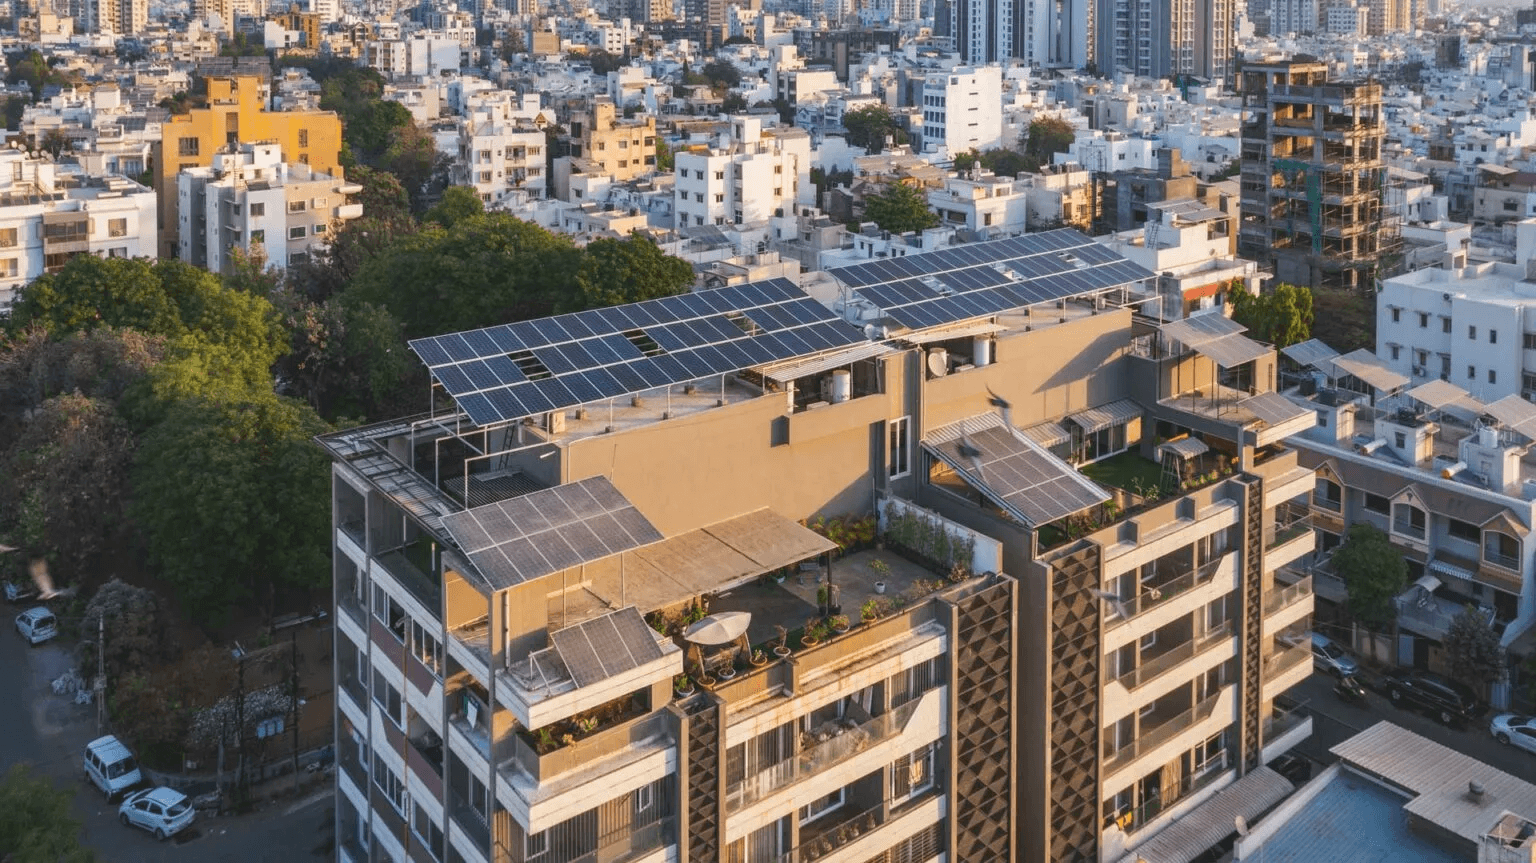
A strong and adaptable option for producing clean, renewable energy is a ground-mounted solar system, particularly for commercial and industrial buildings with lots of open space. When more energy output is required or rooftop space is at a premium, these systems are perfect. The greatest solar energy business in Rajkot, Renevik, walks you through every step of installing ground-mounted solar systems in this blog, from site assessment to system activation.

Saket Arya
5 Minute Read
May 02, 2025


Going solar should be easy, effective, and transparent, in our opinion at Renevik. At first, ground-mounted solar panels might appear complicated, but with the correct staff and procedure in place, they can be a straightforward path to sustainability and long-term savings.

"Installing a ground-mounted solar system is more than just placing panels in an open field; it's about harnessing untapped land potential to generate clean, renewable energy for decades to come.”
1. Site Evaluation and Feasibility Analysis
A thorough evaluation of the site is the first stage. When our team visits the site, they assess things like Daytime exposure to sunlight, topography, and soil characteristics. Being close to the primary electrical supply line and shading from structures, trees, or other impediments We also evaluate structural considerations, space availability, and local permits. This aids in the creation of a system that complies with legal requirements and is safe and effective.

2. Engineering and System Design
Our engineers begin developing a unique solar layout as soon as the site is authorized. With sophisticated design tools, we find the best orientation and tilt angle to absorb the most sunlight. Determine how many solar panels are required overall based on your energy needs. Create the cabling infrastructure, inverters, and electrical flow. Make provisions for safety measures, including surge protection and earthing. Detailed drawings that are shared with the client for approval, ROI calculations, and budget estimation are also included in this step.
3. Documentation & Permissions
On your behalf, Renevik manages all required approvals and paperwork, such as permissions from the DISCOM (Electricity Board), applications of net metering, land clearance, any necessary NOCs, and coordination of government subsidies, if any. While we take care of the paperwork, we think you should concentrate on the advantages of solar!
4. Civil work and site preparation
The site needs to be ready for the construction before panel installation can start. The land is leveled and debris-free. Digging and setting foundations usually involves the use of steel or concrete supports. There are mounting devices in place to firmly hold the panels in place. Underground cabling connecting the panels to the inverter and main supply is trenched.
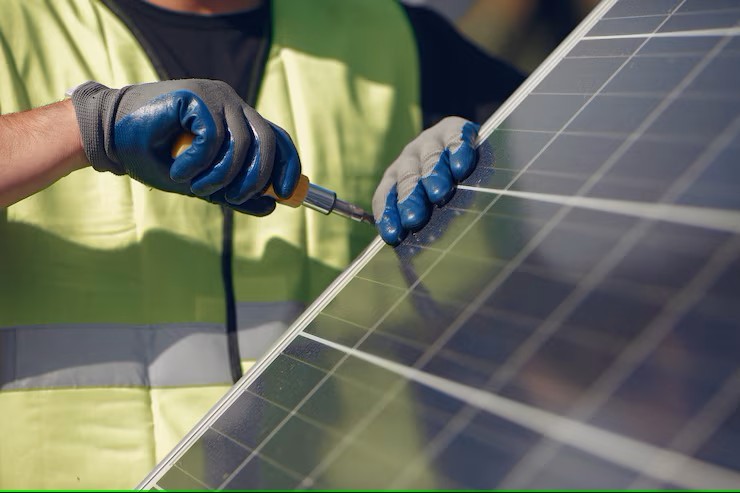
5. Panel and electrical component installation
The actual installation of the solar equipment is the most visually stunning and thrilling phase of the process. Mounting of Solar Panels: After the structures are secured, the panels are meticulously positioned and angled to receive the most sunshine possible all day long. DC Cabling: Premium DC cables are used to electrically link each panel.
6. Commissioning, Testing, and Handover
The Renevik technical team performs thorough testing prior to system activation. Performance Testing: Current flow, voltage stability, panel output, inverter function, and system efficiency are all confirmed. Safety Checks: A comprehensive test is performed on the circuit breaker, lightning arrestor, and earthing resistance. Grid Synchronization: The system's synchronization with the DISCOM grid enables smooth electricity import and export.
For commercial and industrial projects, ground-mounted solar is a high-yield and practical option. You get a solar partner with Renevik, who not only installs but also fully manages the entire process, from system activation to land appraisal and beyond.